Quick Start To Tars
This guide gives you a quick introduction to Tars in Java through simple server and client examples.
Tars deployment by Docker
This guide uses Docker to complete the deployment of Tars.
Docker installation
Taking Ubuntu for example, the installation process of Docker is as follows:
1. Update package index
sudo apt-get update
2. Allow installation via HTTPS
sudo apt-get install apt-transport-https ca-certificates curl software-properties-common
3. Add Docker’s official GPG key
curl -fsSL https://download.docker.com/linux/ubuntu/gpg | sudo apt-key add
Chinese users can use Tencent cloud source:
curl -fsSL https://mirrors.cloud.tencent.com/docker-ce/linux/ubuntu/gpg | sudo apt-key add -
4. Set version library type
sudo add-apt-repository "deb [arch=amd64] https://download.docker.com/linux/ubuntu $(lsb_release -cs) stable"
Chinese users can use Tencent cloud source:
sudo add-apt-repository "deb [arch=amd64] https://mirrors.cloud.tencent.com/docker-ce/linux/ubuntu $(lsb_release -cs) stable"
5. Update package index again
sudo apt-get update
6. Install Docker-ce
sudo apt-get install docker-ce
7. Test whether the installation is successful
docker run hello-world

The above interface appears to indicate that docker has been installed successfully.
Tars deployment
1. Create a Docker virtual network
# Create a bridge virtual network named tars with a gateway of 172.25.0.1 and a network segment of 172.25.0.0
docker network create -d bridge --subnet=172.25.0.0/16 --gateway=172.25.0.1 tars
2. Start MySQL in Docker
docker run -d \
    --net=tars \
    -e MYSQL_ROOT_PASSWORD="123456" \
    --ip="172.25.0.2" \
    -v /data/framework-mysql:/var/lib/mysql \
    -v /etc/localtime:/etc/localtime \
    --name=tars-mysql \
    mysql:5.6
3. Deploy using tarscloud/tars:java image
Pull the container image:
docker pull tarscloud/tars:java
Start the container:
docker run -d -it --name tars_java \
    --net=tars \
    --env DBIP=172.25.0.2 \
    --env DBPort=3306 \
    --env DBUser=root \
    --env DBPassword=123456 \
    -e INET=eth0 \
    --ip="172.25.0.3" \
    -p 3000:3000 \
    -p 18600-18700:18600-18700 \
    -v /data/tars_data:/data \
    tarscloud/tars:java
Note: - P 18600-18700:18600-18700 parameter opens 18600-18700 port for application. You can add more ports if necessary
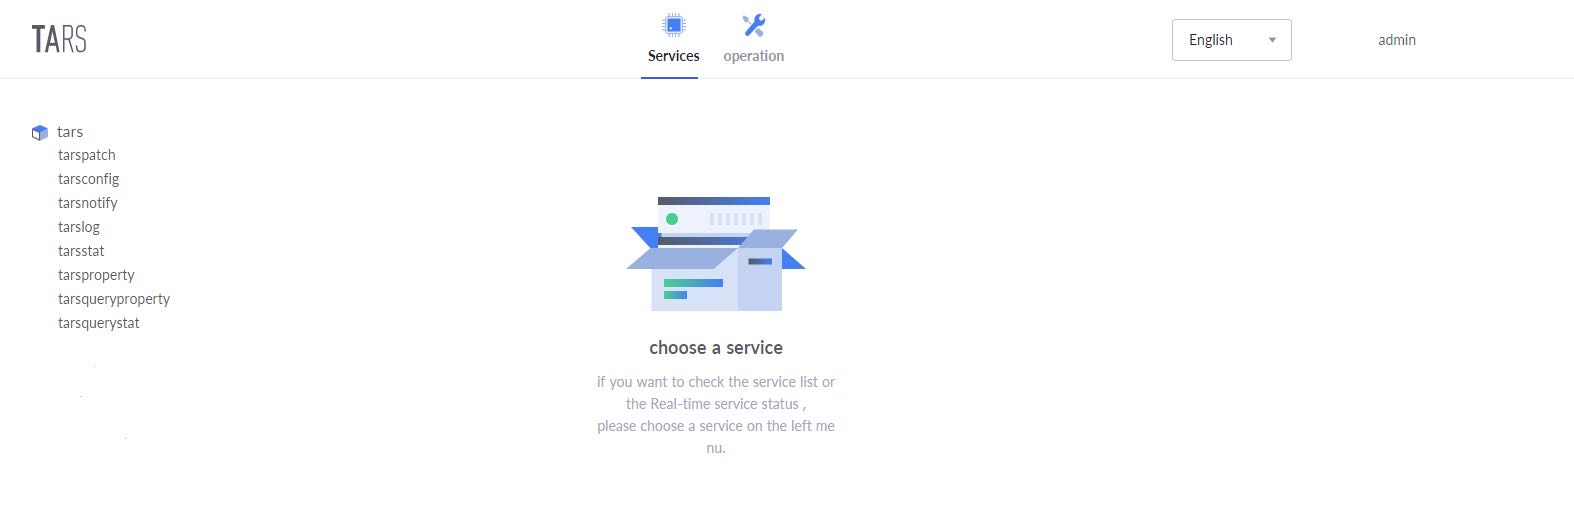
After the container is started, access http://${your_machine_IP}:3000 to open the web management platform. The interface is as follows:
Service release
Download the example and package it into a jar
Run the following commands:
# Clone the repository to get the example code:
git clone https://github.com/TarsCloud/TarsJava.git
# Enter server code directory
cd TarsJava/examples/tars-spring-boot-server
# package the server example into a jar
mvn package
# Enter client code directory
cd TarsJava/examples/tars-spring-boot-client
# package the client example into a jar
mvn package
Service deployment
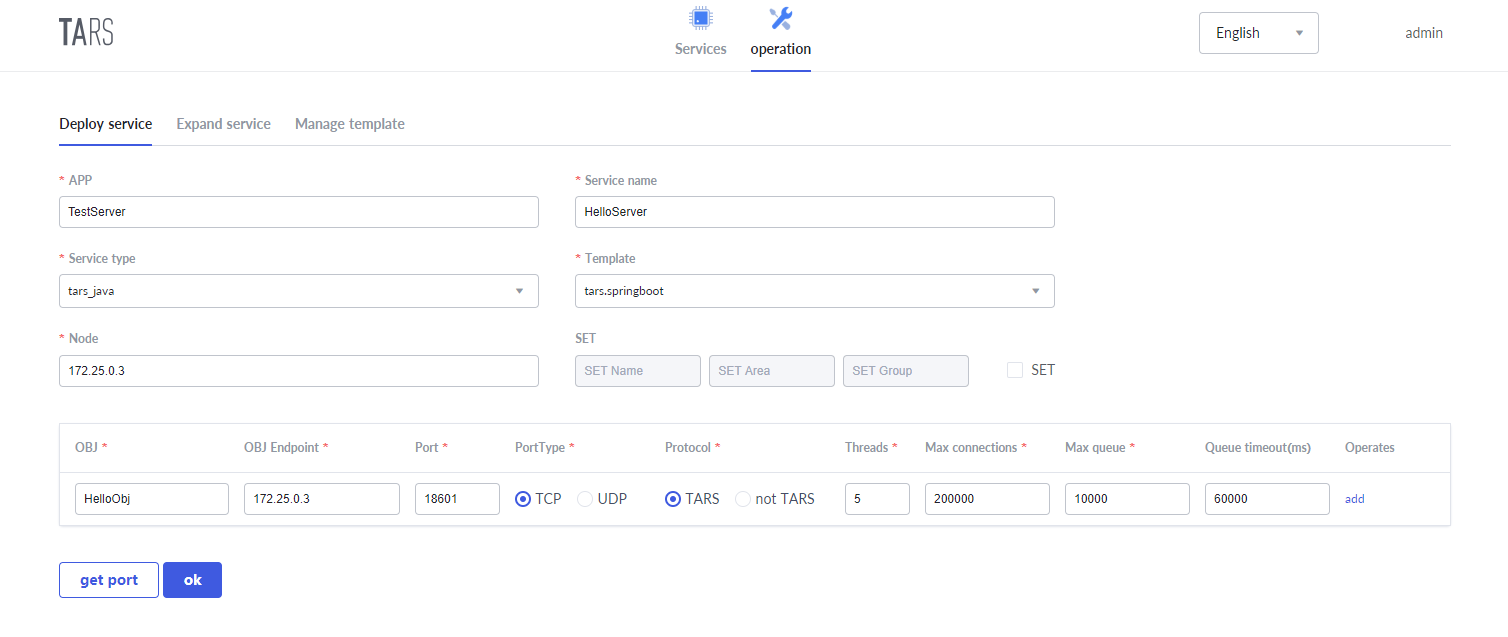
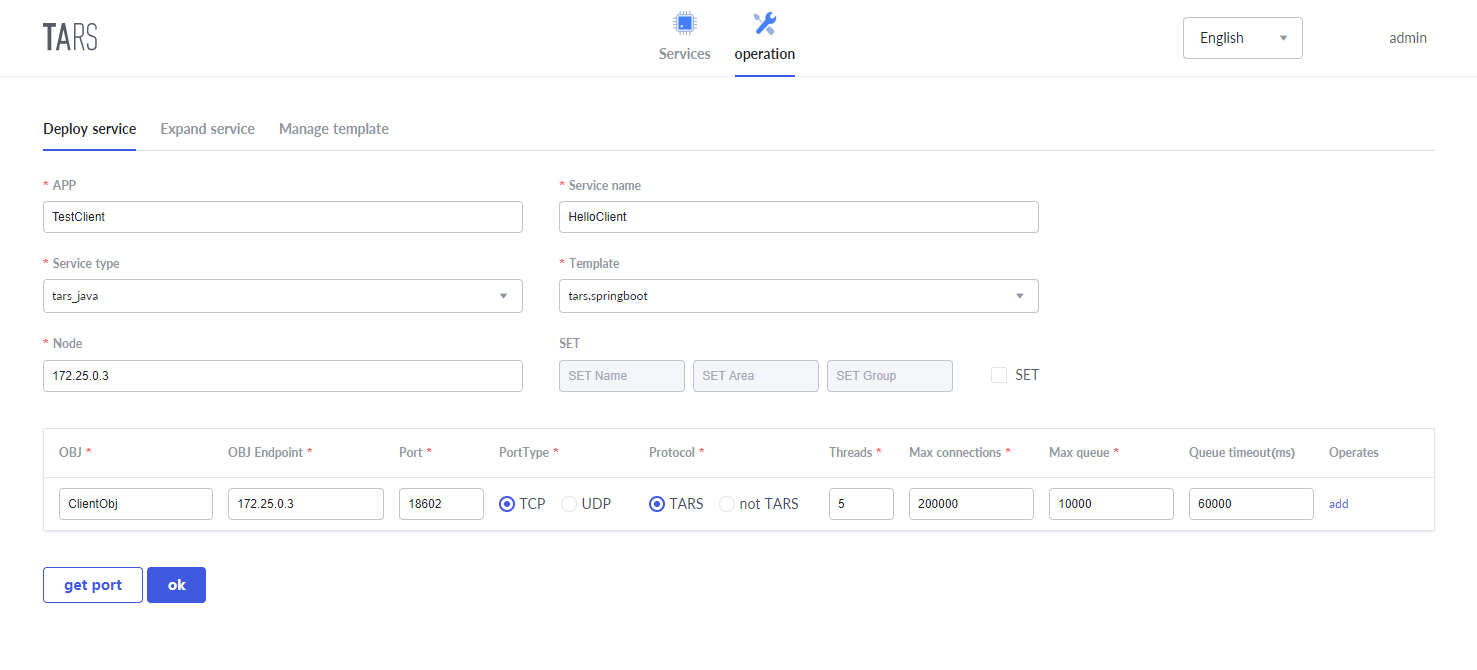
Enter the web management platform, select the operation tab and configure the server and client services respectively according to the following figure. Some parameters are as follows:
- Application Name: a collection of services
- Service Name: the name of the process providing the service
- OBJ: interface which provides the specific service
The system defines the routing name of the service in the system through application name + service name + OBJ, for example, TestServer.HelloServer.HelloObj
- Service type: tars_java
- Template: tars.springboot
- Node: select the active Tars node IP
- Port: choose open ports
server:
client:
Node publication
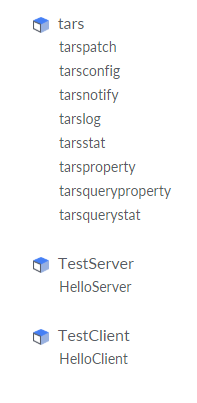
After the service is successfully deployed, you can see the two newly added services after refreshing the main page, namely the HelloServer service on the server side and the HelloClient service on the client side.
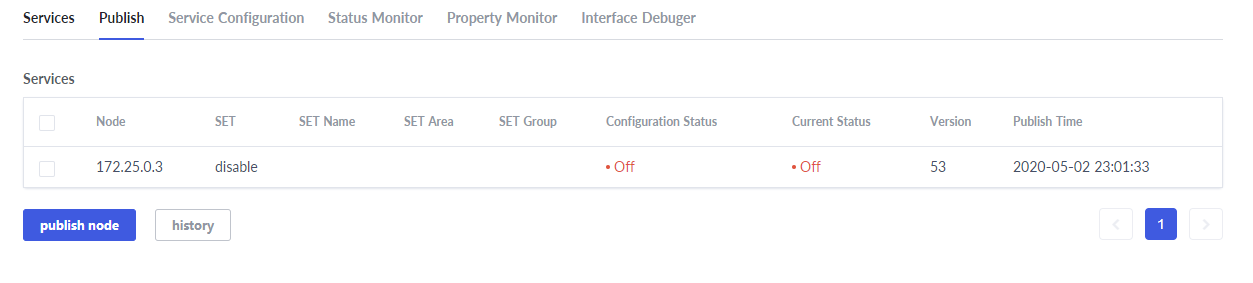
Select the HelloServer service and the HelloClient service respectively, switch to Publish tag, select the node to publish, and click the publish node button.
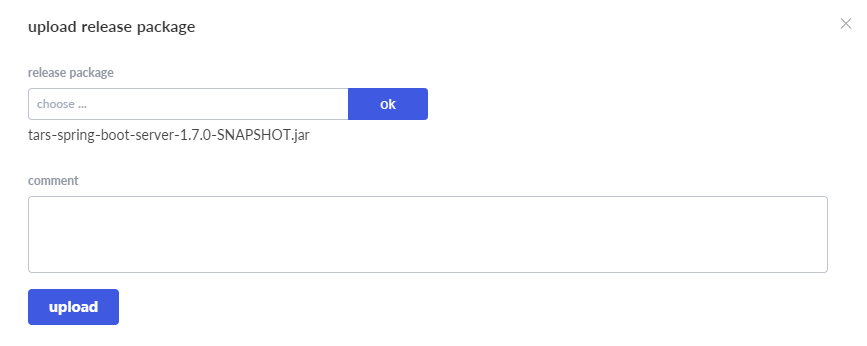
Click the upload release package button, and upload the jar.
server:
client:

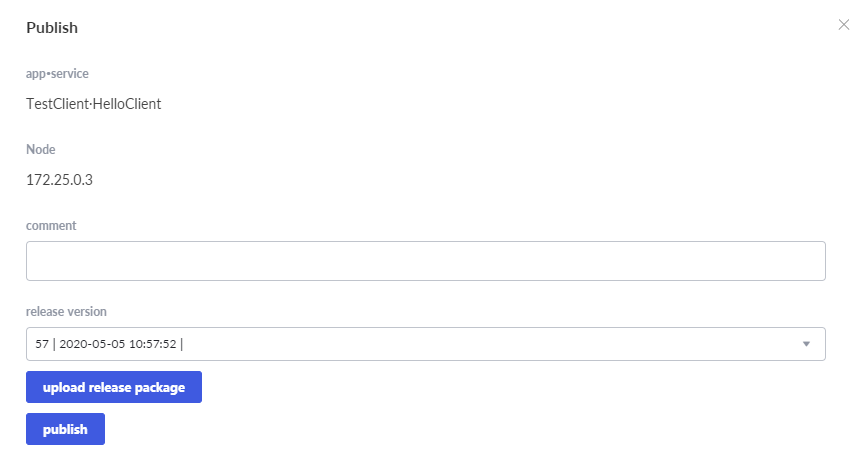
After the upload is completed, a version number with a time stamp will be automatically generated. Select the version and click the publish button:
server:

client:
Back to the Services tab, you can see that the status is Active, which means success.
server:

client:

Interface debugging
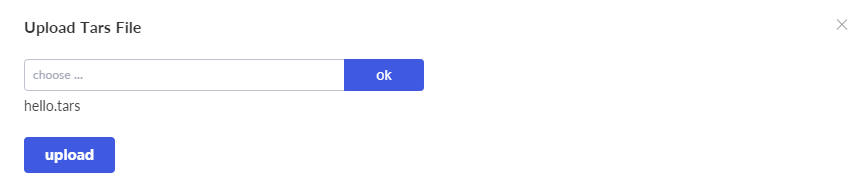
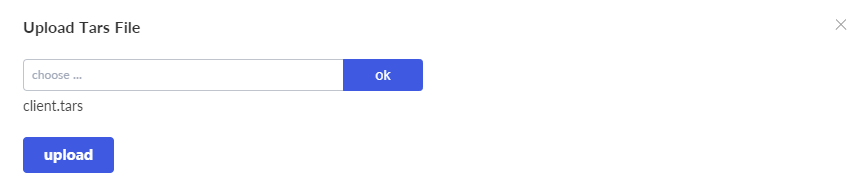
Switch to Interface Debugger tag,click the add button and upload the hello.tars file in the resources directory in the HelloServer service, and upload the client.tars file in the HelloClient service.
server:
client:
After the upload is completed, the newly added service will be displayed in the Tars file list. Then click the debug button.
server:

client:

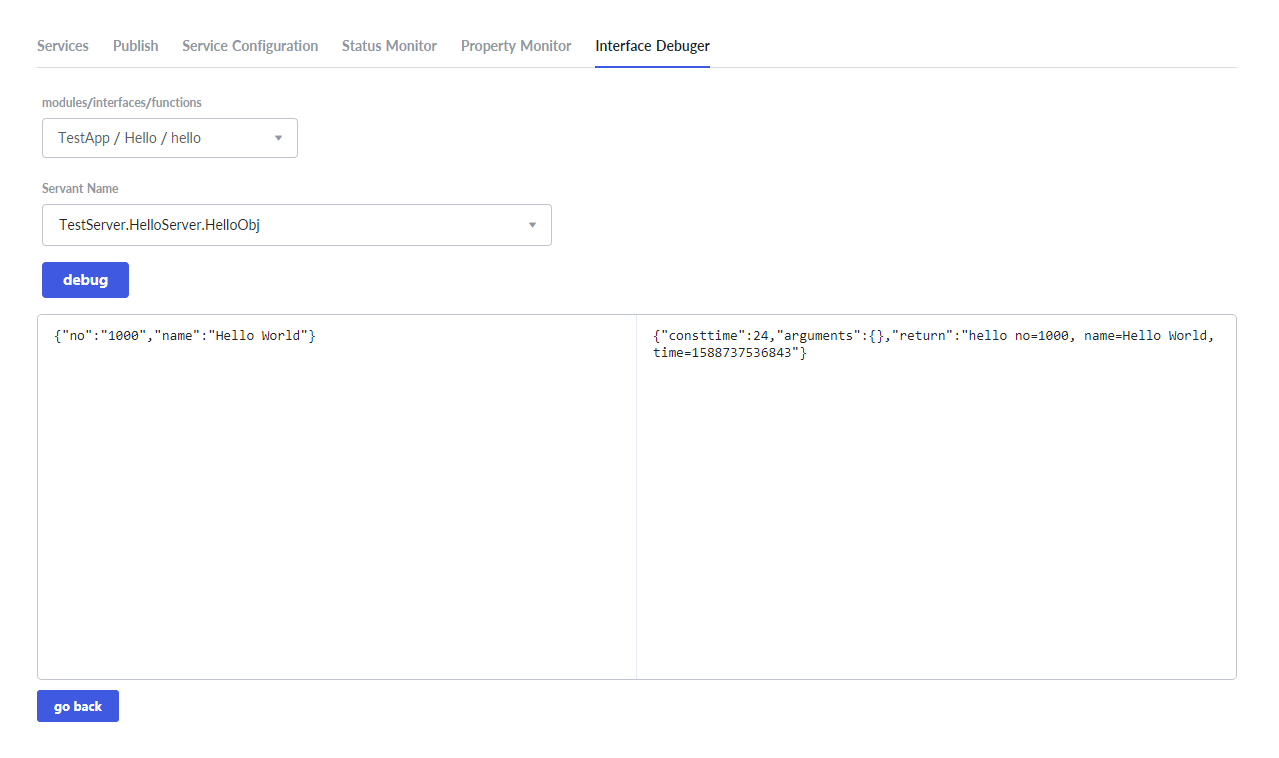
Select the function to be debugged, input the input parameter, and click the debug button to obtain the output parameter.
server:
client:
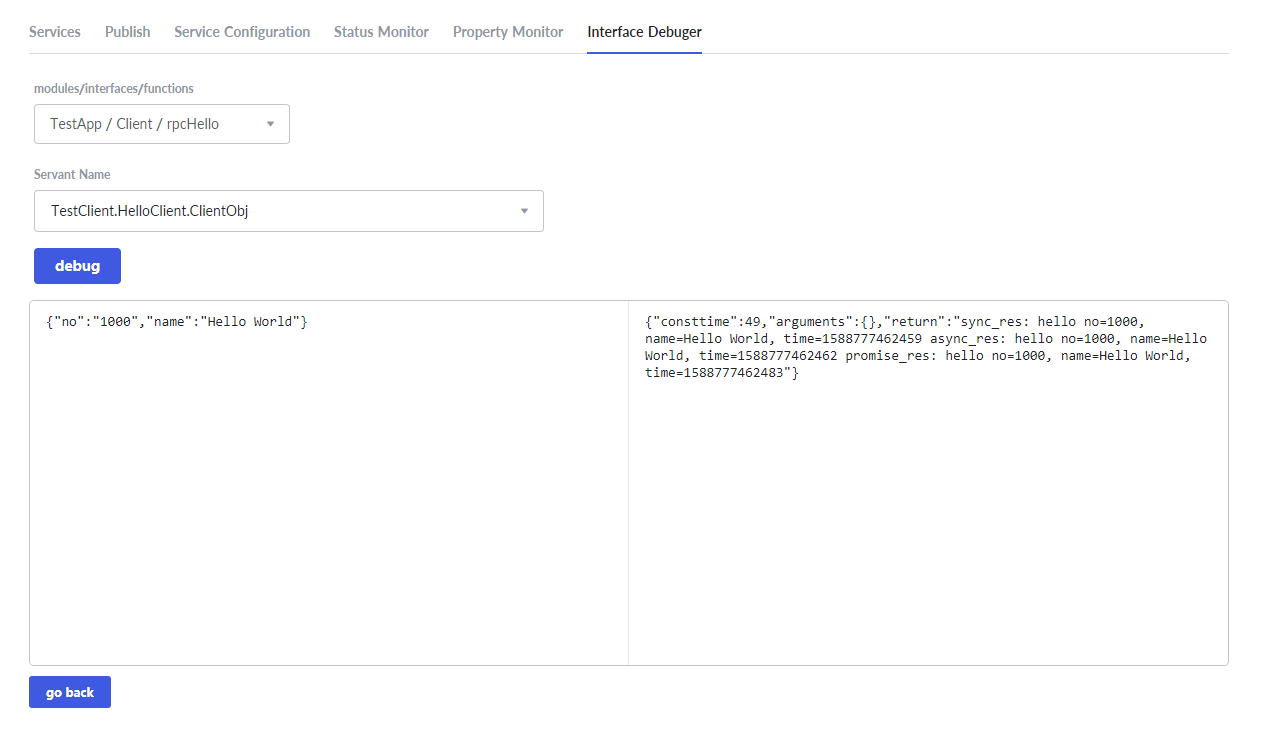
So far, the deployment of server and client is completed.